

Summer. It’s officially here. Summertime holds a special place in my heart. Just the thought brings up memories of carefree days eating watermelon by the pool, evenings watching the sunset at the beach and of course Fourth of July fireworks. The funny thing about Florida is that it’s kind of like summer a lot. Our seasons blur together. Without the periodic temperature changes that our northern neighbors experience, we must rely on the calendar to tell us when a new season is beginning.
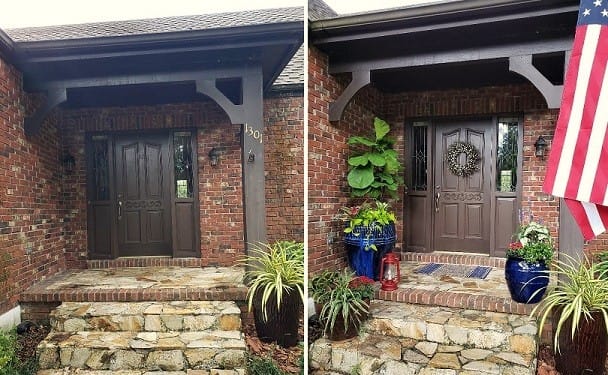
This year I thought I would mark the arrival of summer with a front porch makeover. We love having friends and family over for pool parties. There is always so much preparation that goes into making sure the house is clean and the food is prepared that the front porch ends up getting ignored. I always replant our porch pots in the spring, but then end up forgetting about them until fall. It dawned on me the other day that the porch is the perfect opportunity to make a great first impression. Now, instead of having to stare at embarrassing cobwebs or shuffling their feet on my worn out doormat, my guests will enjoy looking at pots full of festive flowers and luscious green leaves that will set the mood for the party. Bursts of color don’t have to be limited to 4th of July, I have recreated them with plants.
To inspire you to style your front porch for the Fourth, we made a how-to video that you can watch here or just follow the step-by-step directions below. Be creative and have a little fun.
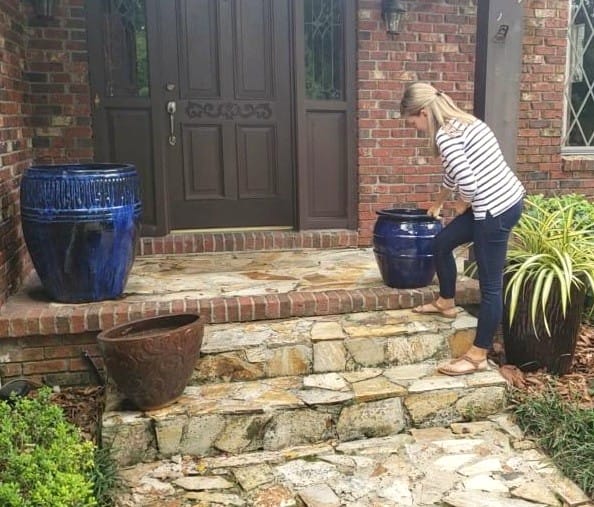
1. Select your container and set it in place (it’s often too heavy to move once it’s planted).
2. Fill your container with Black Gold Potting Mix, leaving about 6 inches at the top to make room for the plants.
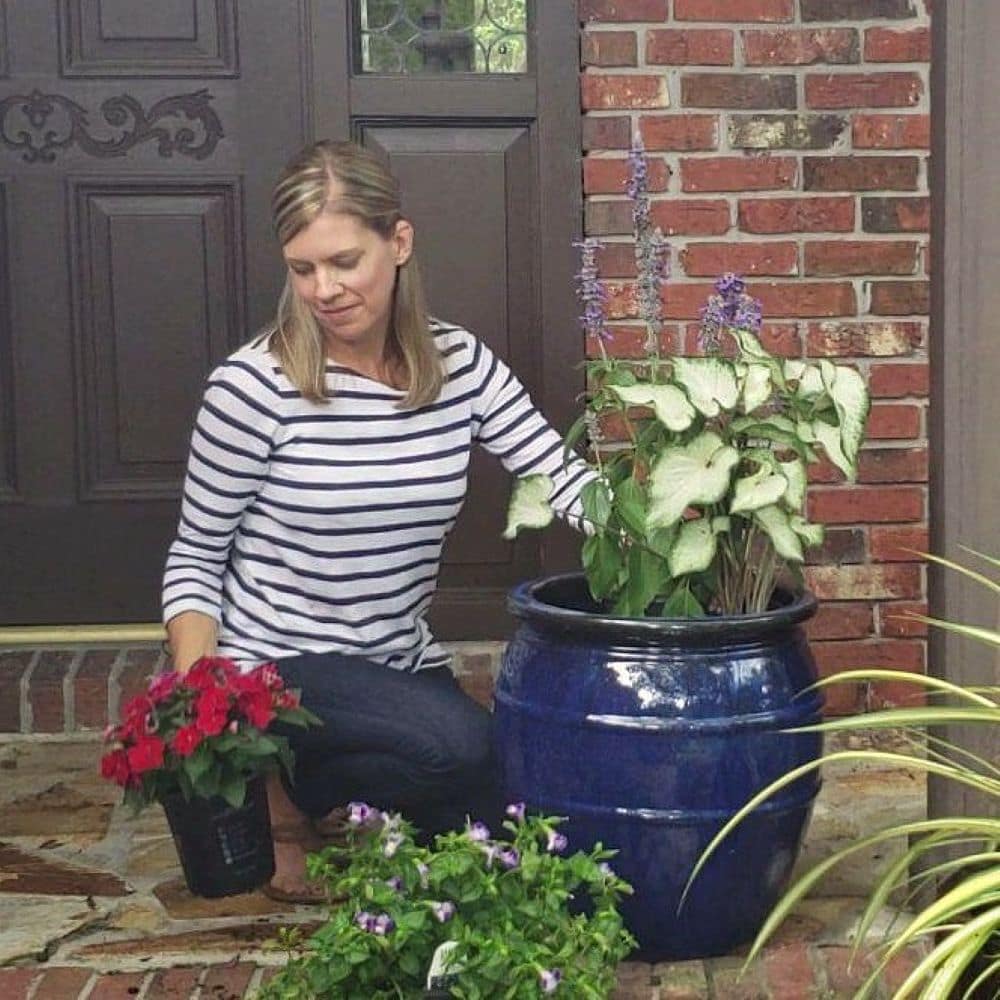
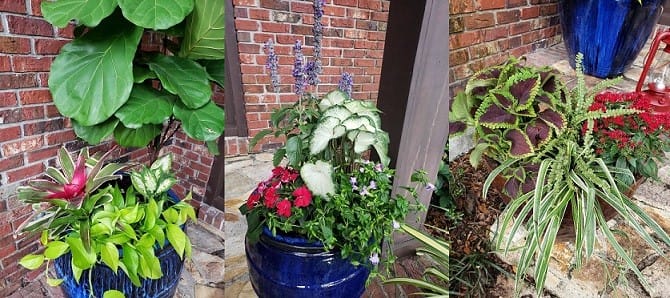
3. Decide how you want to arrange your plants. My tip for creating an impressive container garden is to always include a THRILLER (your focal point), FILLER (something bushier to hide gaps), and a SPILLER (leaves that will cascade down the front of your container).
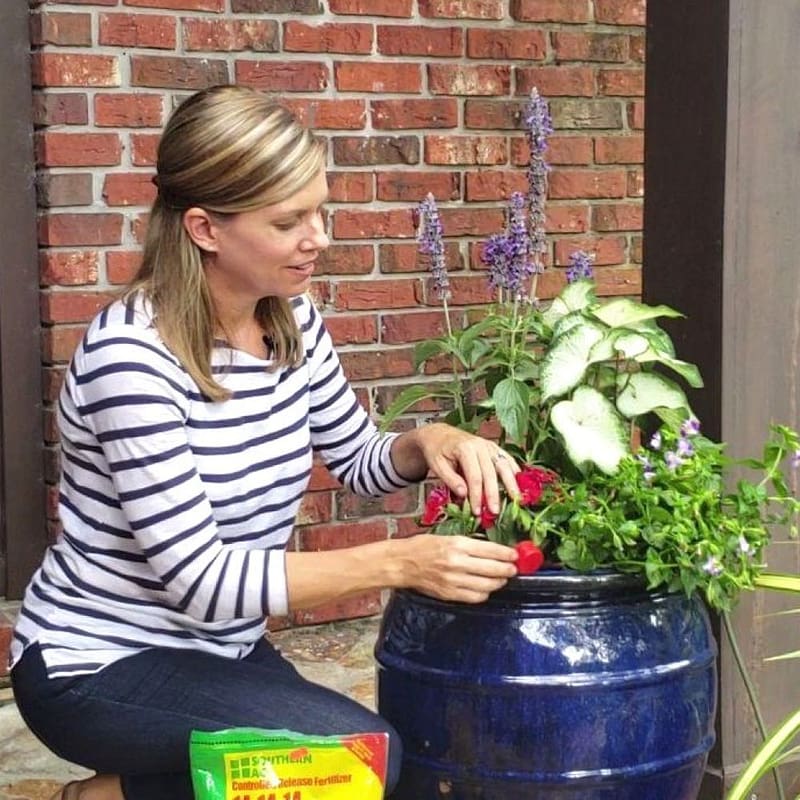
4. Remove the plants from their containers and lightly loosen the roots with your fingertips.
5. Once the plants are set in place, backfill around the roots with planting soil making sure you are pressing it down to remove any air pockets. Do not add any soil on top of the plants’ root balls.
6. Sprinkle Osmocote Smart Release Plant Food (14-14-14 control release fertilizer) over the top of the roots so that your plants will continue to be fed in the months to come.
7. Water thoroughly at planting time and then check daily to make sure your containers don’t dry out in the heat.
8. Sit back and enjoy your red, white, and blue style.
I hope you are excited to plant up a container garden of your own. It doesn’t take a lot to make a big impression. When you do, please share a picture of your creation with us on Instagram or Facebook. We want to see what you come up with!